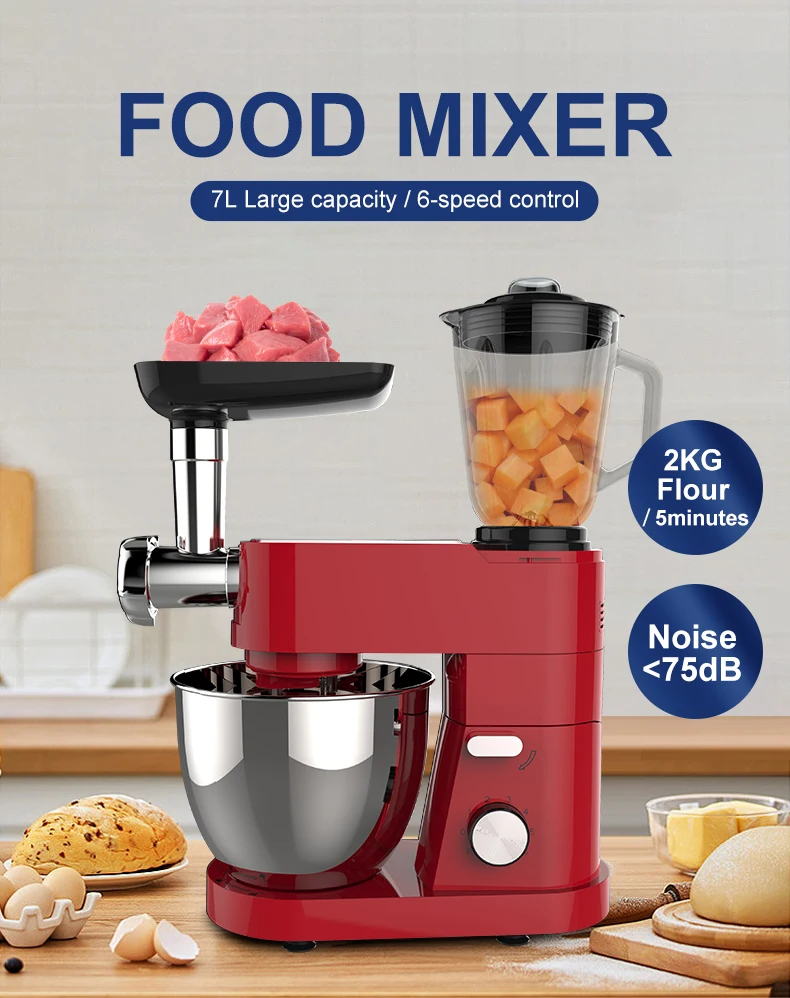
Ultimate Stand Mixer Bread Recipe for Perfectly Fluffy Homemade Loaves
#### Description:When it comes to baking bread at home, nothing beats the joy of pulling a fresh loaf from the oven, the aroma wafting through your kitchen……
#### Description:
When it comes to baking bread at home, nothing beats the joy of pulling a fresh loaf from the oven, the aroma wafting through your kitchen, and the satisfaction of knowing you made it yourself. With the right tools and techniques, you can achieve bakery-quality results in your own kitchen. This stand mixer bread recipe is designed to help you create perfectly fluffy loaves with minimal effort, thanks to the power of a stand mixer.
Using a stand mixer not only saves you time and energy but also ensures that your dough is mixed and kneaded evenly, which is crucial for developing gluten and achieving that desirable texture in your bread. If you’ve been hesitant to bake bread because of the labor-intensive process, this recipe is perfect for you.
### Ingredients You'll Need
To get started with this stand mixer bread recipe, gather the following ingredients:
- 4 cups of all-purpose flour
- 1 packet (2 ¼ teaspoons) of active dry yeast
- 1 ½ cups of warm water (about 110°F)
- 2 tablespoons of sugar

- 2 teaspoons of salt
- 2 tablespoons of olive oil (optional for added flavor)
### Step-by-Step Instructions
1. **Activate the Yeast**: In your stand mixer bowl, combine the warm water and sugar. Sprinkle the yeast over the top and let it sit for about 5-10 minutes until it becomes frothy. This indicates that the yeast is active and ready to use.
2. **Mix the Dough**: Once the yeast is activated, add the olive oil and salt to the bowl. Gradually add the flour, one cup at a time, mixing on low speed with the dough hook attachment until the flour is fully incorporated.
3. **Knead the Dough**: Increase the mixer speed to medium and knead the dough for about 8-10 minutes. The dough should be smooth and elastic, pulling away from the sides of the bowl. If the dough is too sticky, you can add a little more flour, a tablespoon at a time.

4. **First Rise**: Lightly oil a large bowl and transfer the dough into it, turning to coat it with oil. Cover the bowl with a damp cloth or plastic wrap and let it rise in a warm place for about 1-2 hours, or until it has doubled in size.
5. **Shape the Loaf**: Once the dough has risen, gently punch it down to release the air. Turn it out onto a lightly floured surface and shape it into a loaf. Place the shaped dough into a greased 9x5-inch loaf pan.
6. **Second Rise**: Cover the loaf with a cloth and let it rise again for about 30-45 minutes, or until it has risen above the rim of the pan.
7. **Preheat the Oven**: While the dough is rising, preheat your oven to 375°F (190°C).
8. **Bake the Bread**: Once the loaf has risen, bake it in the preheated oven for 30-35 minutes, or until the top is golden brown and the bread sounds hollow when tapped on the bottom.
9. **Cool and Enjoy**: Remove the bread from the oven and let it cool in the pan for about 10 minutes before transferring it to a wire rack to cool completely.

### Tips for Success
- **Use Fresh Ingredients**: Ensure your yeast is fresh for the best rise. If you’re unsure, you can proof it as described in the first step.
- **Temperature Matters**: The water should be warm but not hot, as high temperatures can kill the yeast.
- **Experiment with Flavors**: Once you master this basic stand mixer bread recipe, feel free to experiment by adding herbs, cheese, or even nuts and seeds for added flavor and texture.
This stand mixer bread recipe is not just about making bread; it's about creating a delightful experience that you can share with family and friends. Enjoy the process, and soon you'll be known for your delicious homemade loaves!